Strapi を開発環境と本番環境のDockerで動かしたい【その7】- APIとして公開する
今回は Strapi を実際にAPIとして公開して利用してみます。
前回まではコチラ👇
【その4】、【その5】で用意されているステージング環境のAPIを叩けるようにしていきます。
ターミナルで Curl を使ってAPIを叩いてみる
まずは、Strapi のAPIをターミナル上で叩くことを目標にしてやっていきます。
Content-Typeを作成します。
これは前回の記事の「プラグインなしで使ってみる」のセクションで作成したやり方で作成します。
# 作業ディレクトリに移動する
$ cd ~/StrapiProjects/donuts-strapi

# 開発環境を立ち上げる
# イメージの作成
$ docker compose -f docker-compose.dev.yml build

# コンテナの起動
$ docker compose -f docker-compose.dev.yml up -d
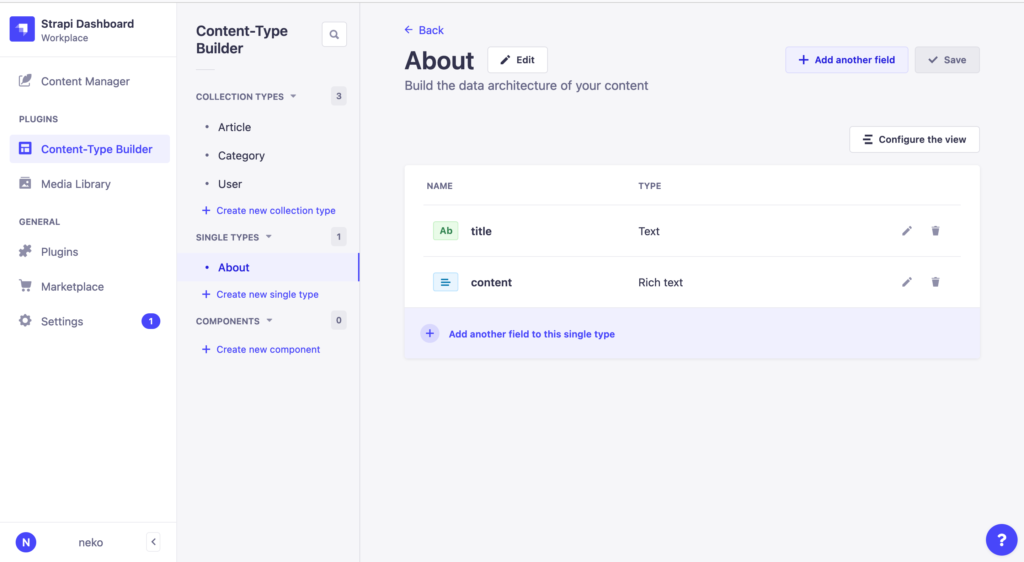
http://localhost:1337/admin にアクセスして、Content-Type Builderより以下の4つのContent-Typeを追加します。
About: Single TypeArticle: Collection TypeCategory: Collection TypeTag: Collection Type
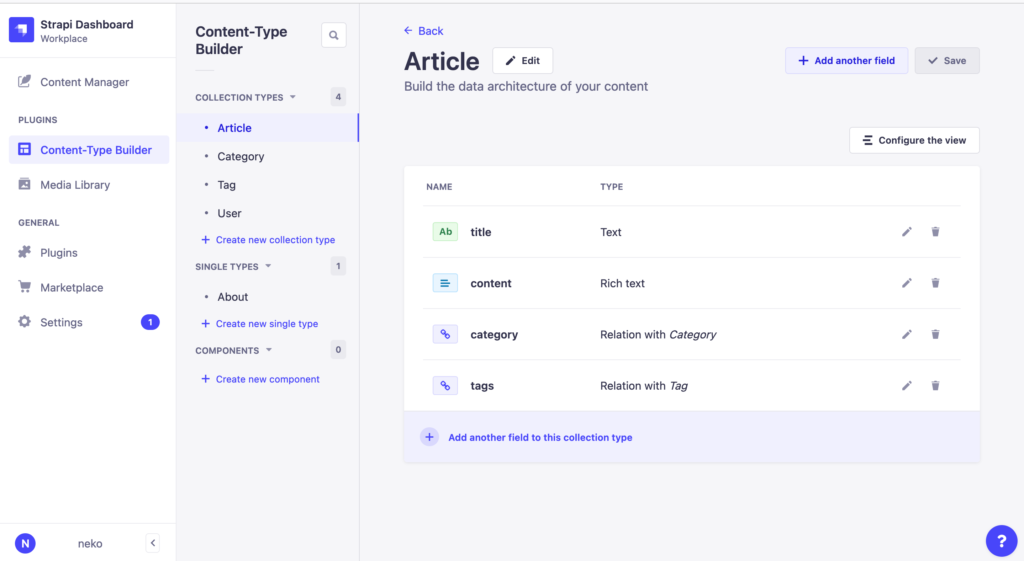
Aboutにはtitleとcontentフィールドを作成しました。
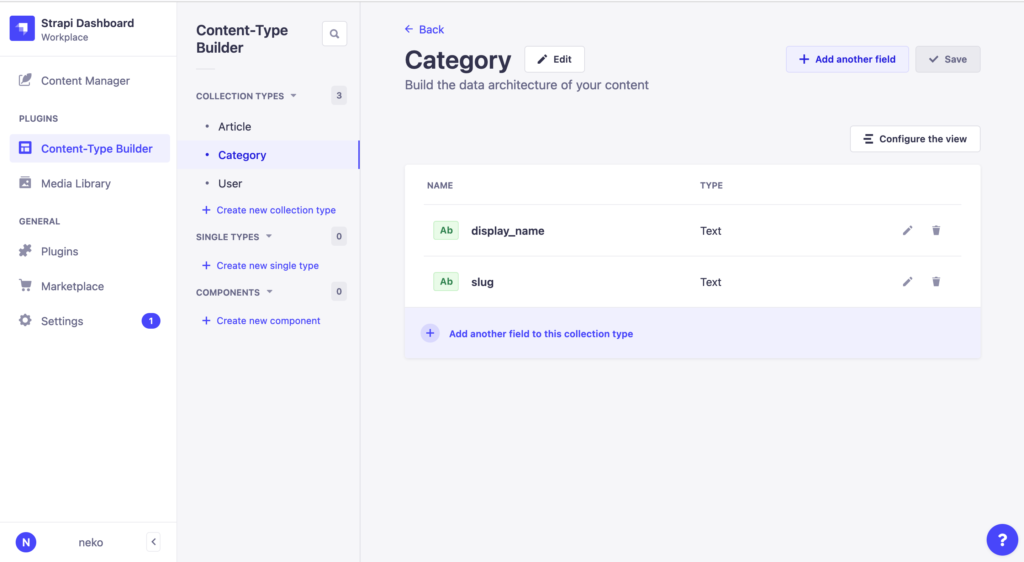
Categoryにはdisplay_nameとslugフィールドを作成しました。
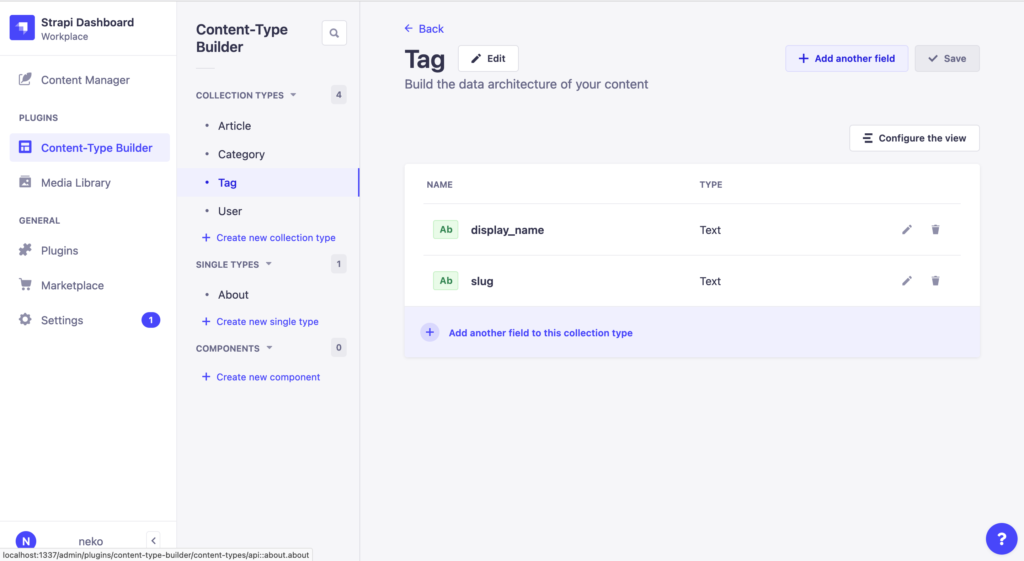
Tagにはdisplay_nameとslugフィールドを作成しました。
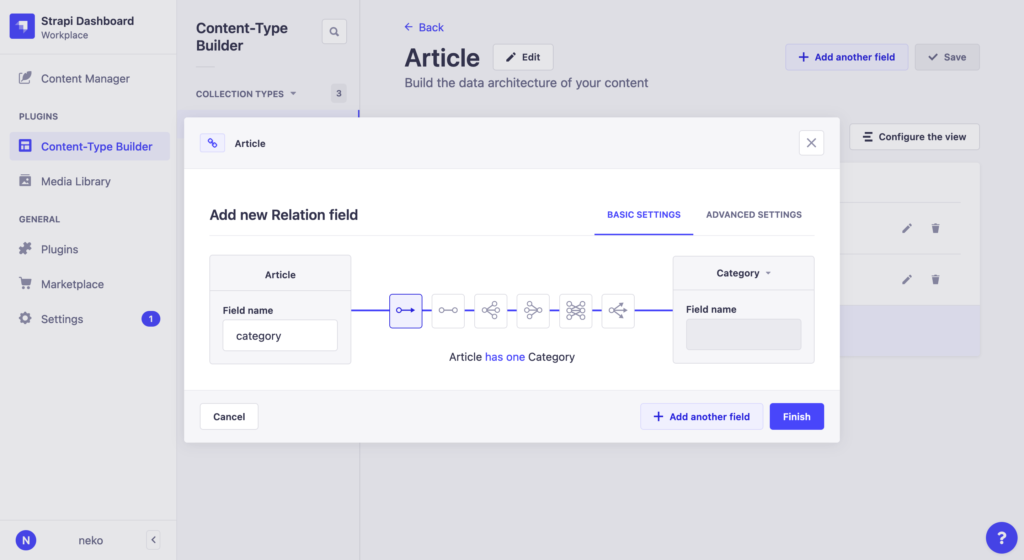
Articleにはtitleとcontentとcategoryとtagsを作成します。
他の Content-Type と紐付けたい場合にはRelationを作成します。
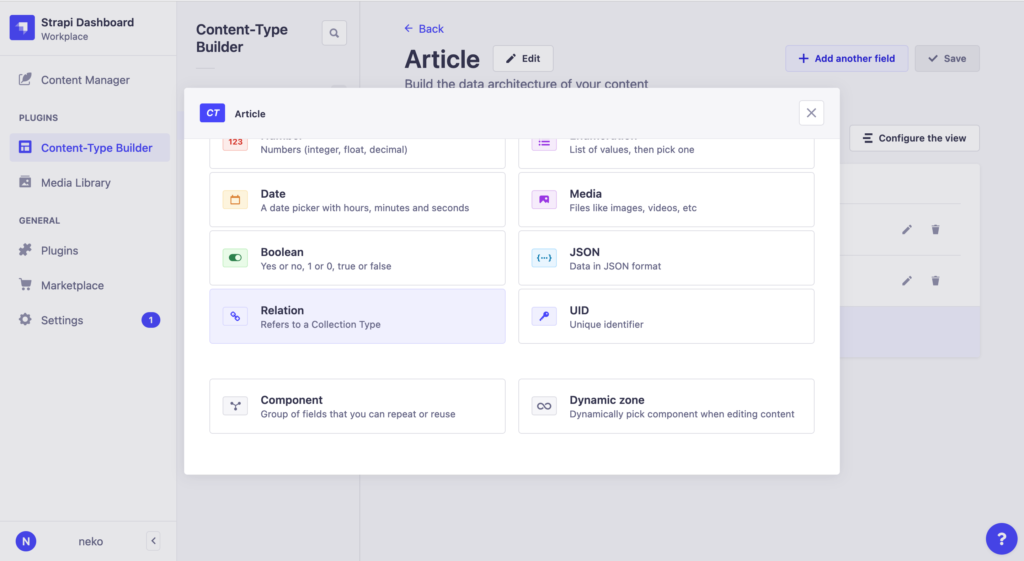
1記事に対して1カテゴリとしたいので、Article has one Categoryとなるように、1番左のアイコンを選択して Finish を押します。
次に、タグは1記事に対して複数タグをつけられるようにしたいので、一番右のArticle has many Tagsとなるアイコンを選択して Finish を押します。
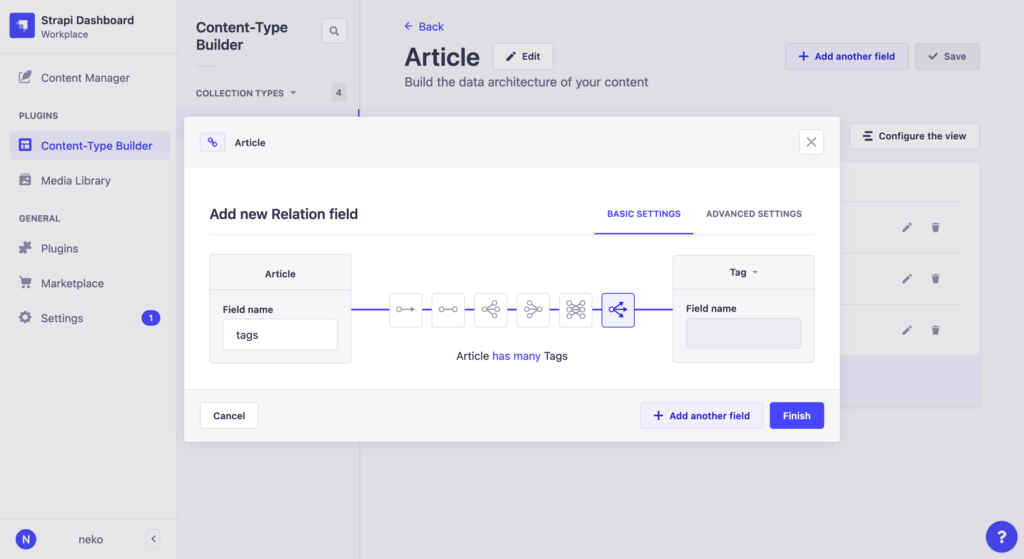
最後にArticleを保存します。
開発環境でContent-Typeを追加したら、コミットをして、GitHub のリポジトリにプッシュをします。
これでVPS環境で追加した Content-Type を利用できるようになります。
# 作業ディレクトリに移動する
$ cd ~/StrapiProjects/donuts-strapi

# コミットする
$ git add src
$ git commit -m "Add Article, Category, Tag, About content-Type"

# ステージング環境へプッシュしておく
$ git push origin staging
deploy.stg.ymlによりデプロイされるのを待ちます。
VPS で、追加したContent-Typeが反映されたら、コンテンツを追加します。
それぞれ1つずつ追加しておきます。
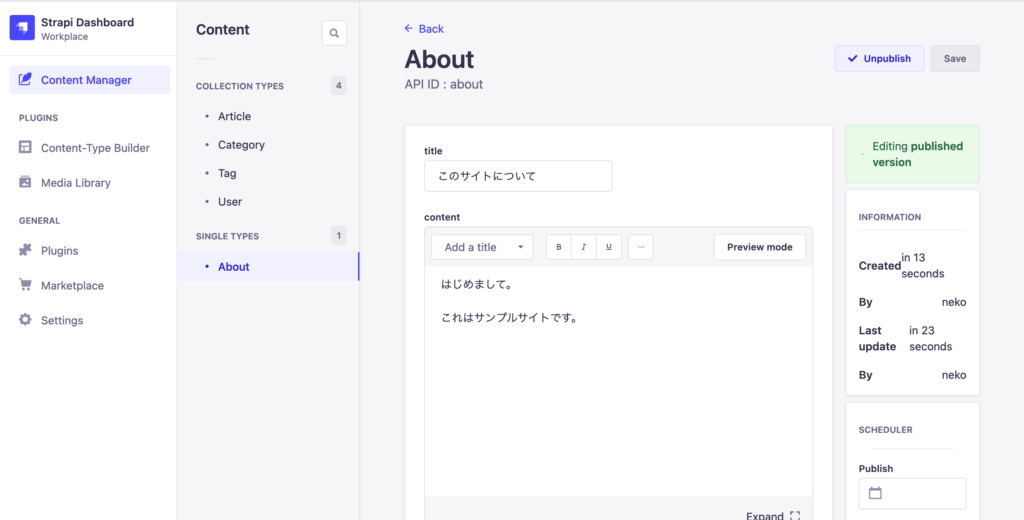
Aboutはサイトについてを書きました。
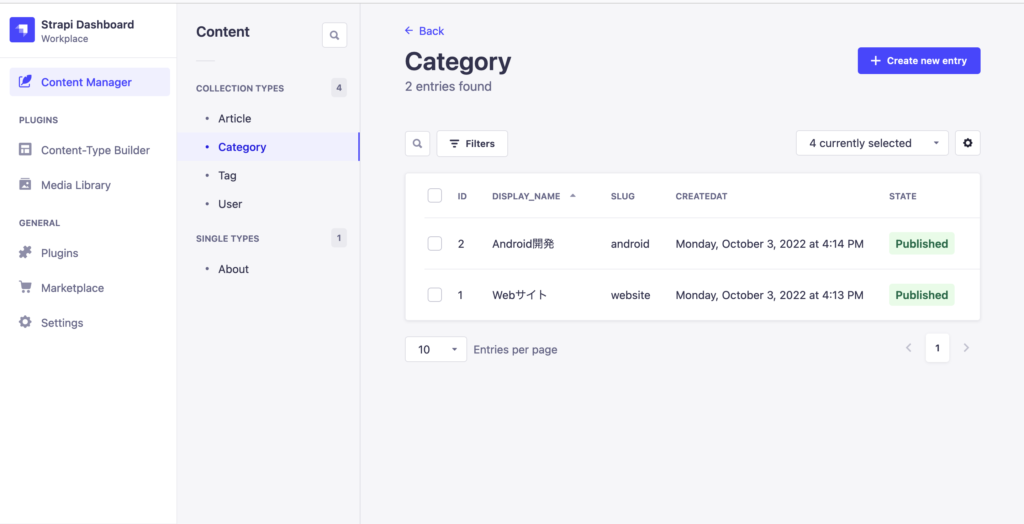
Categoryは記事のカテゴリを追加しました。
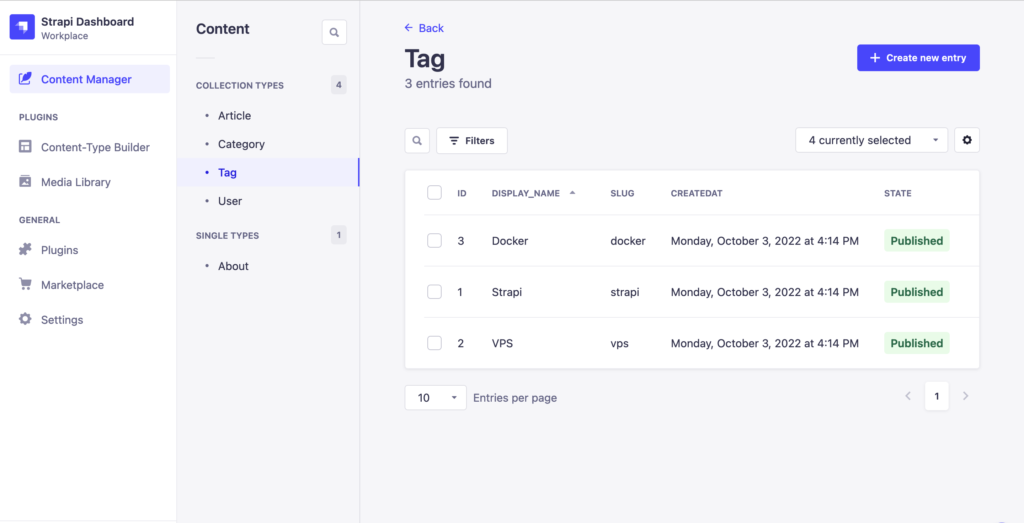
Tagは記事のタグを追加しました。
Articleは以下のように作成したCategoryとTagも追加します。

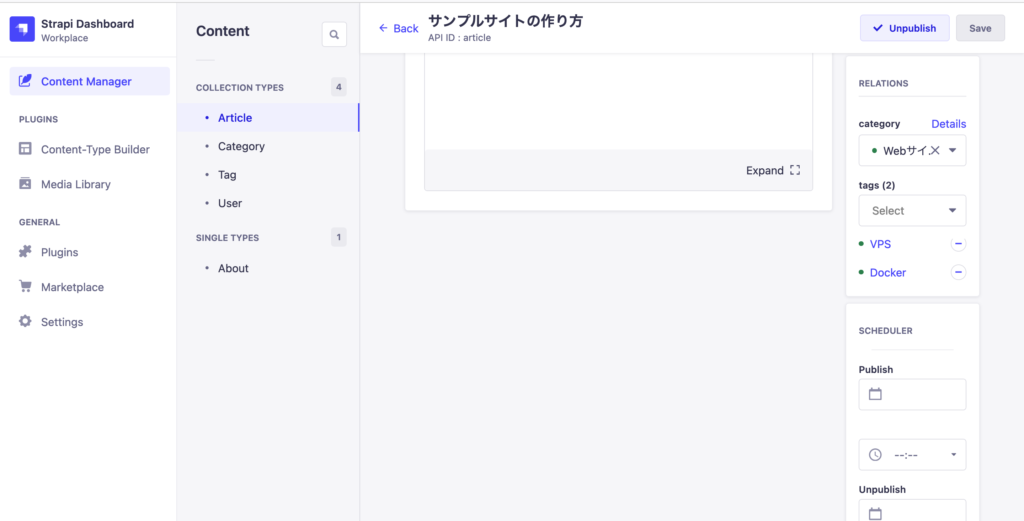
全てPublishをして公開してきます。
REST API – Strapi Developer Docsを参考に、APIを叩いてみます。
Strapi の API は/api/Content-Type名がエンドポイントになります。
今回 ステージング環境としてhttps://donuts-staging-api.cookin.devを用意しています。
# curl を利用してAPIを叩いてみる
$ curl -H GET 'https://donuts-staging-api.cookin.dev/api/about'

{"data":null,"error":{"status":403,"name":"ForbiddenError","message":"Forbidden","details":{}}}
403エラーが返ってきます。
API を叩くには API Token が必要です。
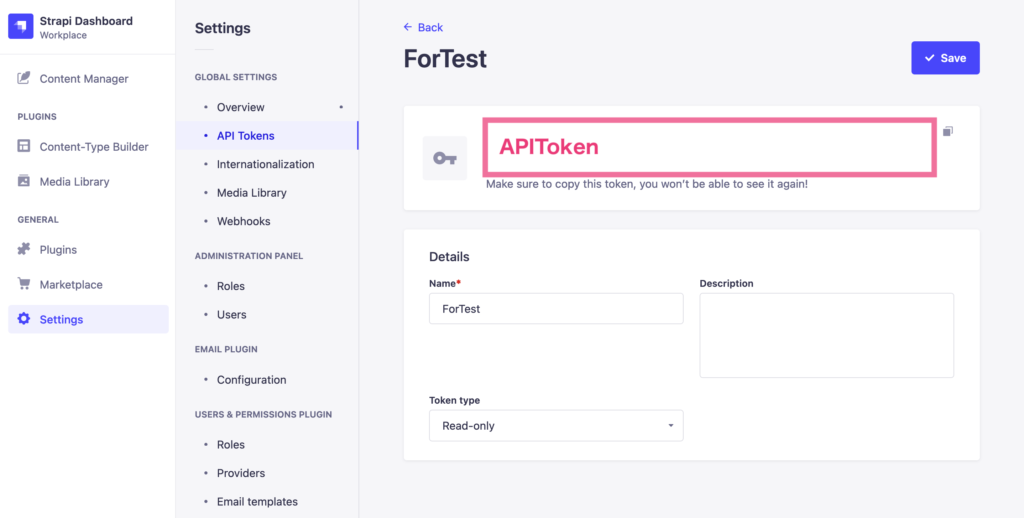
VPS 上の Strapi の管理画面よりSettings > API Tokensを選択します。

Crate a new API Tokenより生成します。
作成された API Token は作成完了時の一度しか表示されません。API を叩く時に利用するので忘れずにメモしておきます。
改めて ターミナルよりcurlでAPIを叩いてみます。
# curl を利用してAPIを叩いてみる -H(ヘッダーに追加) 'Authorization: Bearer APIToken'
$ curl -H GET 'https://donuts-staging-api.cookin.dev/api/about' -H 'Authorization: Bearer STEP.5で取得したAPITokenをはる'

{"data":{"id":1,"attributes":{"title":"このサイトについて","content":"はじめまして。\n\nこれはサンプルサイトです。","createdAt":"2022-10-03T07:16:23.034Z","updatedAt":"2022-10-03T07:16:32.843Z","publishedAt":"2022-10-03T07:16:32.841Z"}},"meta":{}}
無事に叩けました。
Collection Typeの場合には複数形で叩きます。
# Category
$ curl -H GET 'https://donuts-staging-api.cookin.dev/api/categories' -H 'Authorization: Bearer STEP.5で取得したAPITokenをはる'

{"data":[{"id":2,"attributes":{"display_name":"Android開発","slug":"android","createdAt":"2022-10-03T07:14:42.971Z","updatedAt":"2022-10-03T07:14:48.312Z","publishedAt":"2022-10-03T07:14:48.310Z"}},{"id":1,"attributes":{"display_name":"Webサイト","slug":"website","createdAt":"2022-10-03T07:13:49.914Z","updatedAt":"2022-10-03T07:14:50.974Z","publishedAt":"2022-10-03T07:14:50.972Z"}}],"meta":{"pagination":{"page":1,"pageSize":25,"pageCount":1,"total":2}}}

# Tag
$ curl -H GET 'https://donuts-staging-api.cookin.dev/api/tags' -H 'Authorization: Bearer STEP.5で取得したAPITokenをはる'

{"data":[{"id":1,"attributes":{"display_name":"Strapi","slug":"strapi","createdAt":"2022-10-03T07:14:00.108Z","updatedAt":"2022-10-03T07:14:03.516Z","publishedAt":"2022-10-03T07:14:03.512Z"}},{"id":2,"attributes":{"display_name":"VPS","slug":"vps","createdAt":"2022-10-03T07:14:18.158Z","updatedAt":"2022-10-03T07:14:18.901Z","publishedAt":"2022-10-03T07:14:18.897Z"}},{"id":3,"attributes":{"display_name":"Docker","slug":"docker","createdAt":"2022-10-03T07:14:26.106Z","updatedAt":"2022-10-03T07:14:28.557Z","publishedAt":"2022-10-03T07:14:28.554Z"}}],"meta":{"pagination":{"page":1,"pageSize":25,"pageCount":1,"total":3}}}

# Article
$ curl -H GET 'https://donuts-staging-api.cookin.dev/api/articles' -H 'Authorization: Bearer STEP.5で取得したAPITokenをはる'

{"data":[{"id":1,"attributes":{"title":"サンプルサイトの作り方","content":"## About\n\nこれはサンプル記事です。\n\n","createdAt":"2022-10-03T07:13:26.447Z","updatedAt":"2022-10-03T07:19:21.226Z","publishedAt":"2022-10-03T07:19:21.222Z"}}],"meta":{"pagination":{"page":1,"pageSize":25,"pageCount":1,"total":1}}}
Articleの一覧を取得した時に結果を見てみましょう。
{
	"data": [{
		"id": 1,
		"attributes": {
			"title": "サンプルサイトの作り方",
			"content": "## About\n\nこれはサンプル記事です。\n\n",
			"createdAt": "2022-10-03T07:13:26.447Z",
			"updatedAt": "2022-10-03T07:19:21.226Z",
			"publishedAt": "2022-10-03T07:19:21.222Z"
		}
	}],
	"meta": {
		"pagination": {
			"page": 1,
			"pageSize": 25,
			"pageCount": 1,
			"total": 1
		}
	}
}
CategoryとTagが含まれていません。
これはドキュメントにて以下のように書かれています。
The REST API by default does not populate any relations, media fields, components, or dynamic zones. Use the populate parameter to populate specific fields.
デフォルトではRelationが含まないようになっているので、populate=*をつけて取得してみます。
populateについて詳しくはREST API: Population & Field Selectionにて書かれています。
# Article
$ curl -H GET 'https://donuts-staging-api.cookin.dev/api/articles?populate=*' -H 'Authorization: Bearer STEP.5で取得したAPITokenをはる'
取得結果
{
	"data": [{
		"id": 1,
		"attributes": {
			"title": "サンプルサイトの作り方",
			"content": "## About\n\nこれはサンプル記事です。\n\n",
			"createdAt": "2022-10-03T07:13:26.447Z",
			"updatedAt": "2022-10-03T07:19:21.226Z",
			"publishedAt": "2022-10-03T07:19:21.222Z",
			"category": {
				"data": {
					"id": 1,
					"attributes": {
						"display_name": "Webサイト",
						"slug": "website",
						"createdAt": "2022-10-03T07:13:49.914Z",
						"updatedAt": "2022-10-03T07:14:50.974Z",
						"publishedAt": "2022-10-03T07:14:50.972Z"
					}
				}
			},
			"tags": {
				"data": [{
					"id": 2,
					"attributes": {
						"display_name": "VPS",
						"slug": "vps",
						"createdAt": "2022-10-03T07:14:18.158Z",
						"updatedAt": "2022-10-03T07:14:18.901Z",
						"publishedAt": "2022-10-03T07:14:18.897Z"
					}
				}, {
					"id": 3,
					"attributes": {
						"display_name": "Docker",
						"slug": "docker",
						"createdAt": "2022-10-03T07:14:26.106Z",
						"updatedAt": "2022-10-03T07:14:28.557Z",
						"publishedAt": "2022-10-03T07:14:28.554Z"
					}
				}]
			}
		}
	}],
	"meta": {
		"pagination": {
			"page": 1,
			"pageSize": 25,
			"pageCount": 1,
			"total": 1
		}
	}
}
これで Relation も全て取得することができました。
おわりに
今回はGETしかしていませんが、この辺で終わりにしておきます。
またPOSTなどが必要になった時に記事として残そうと思います。
JSON ファイルをみると、自分で用意したフィールド以外にもidやcreatedAt等も自動で追加されていて、とても便利です。
paging の機能等も備えていますが、またそのうち機会があれば戦ってみます。
次回は Swagger のプラグインを入れてみます。