【Xcode14.2】macOS を Monterey から Ventura にアップデートした時にしたことメモ
Xcode の更新のため、macOS を Monterey から Ventura にアップデートした時にメモしておきます。
Intel Mac での更新となります。
Xcode のバージョンをアップデート
ダウンロードできたらアプリケーション名を Xcode.app -> Xcode14.2.app に変更しておきます。
これまで利用していた 13.x 系統の Xcode は利用できなくなります。
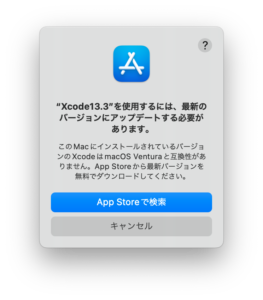
次にターミナルより Xcode のコマンドラインツールを変更します。
# 現在選択されている Xcode を確認する
$ xcode-select -print-path
/Applications/Xcode13.3.app/Contents/Developer

# 利用する Xcode を変更する
$ sudo xcode-select -switch /Applications/Xcode14.2.app/Contents/Developer

# 更新されたことを確認する
$ xcode-select -print-path
/Applications/Xcode14.2.app/Contents/Developer
実行可能なシミュレータの確認
iOS13.7 のシミュレータで実行した場合に以下のクラッシュが発生しました。
Unable to boot the Simulator.
Domain: NSPOSIXErrorDomain
Code: 4
Failure Reason: Interrupted system call
User Info: {
DVTErrorCreationDateKey = “2023-03-16 02:58:55 +0000”;
IDERunOperationFailingWorker = “_IDEInstalliPhoneSimulatorWorker”;
Session = “com.apple.CoreSimulator.SimDevice.F83C2D87-1ADB-4B3E-8ED8-E7B258B215CX”;
}
—
Failed to start launchd_sim: could not bind to session, launchd_sim may have crashed or quit responding
Domain: com.apple.SimLaunchHostService.RequestError
Code: 4
—
launchd_sim crashing: could not create temporary state directory – Stackoverflowを参考に、以下のようにパーミッションの変更を行います。
$ sudo chmod 1777 /Volumes/Macintosh\ HD/private/tmp
パーミッションの変更後、 Mac を再起動し、Xcode を開く際に以下のようにシミュレータの検証が行われました。
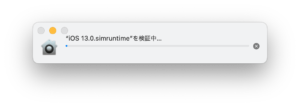
しかし、iOS13.7のシミュレータはこの手順では実行できませんでした。
Window > Devices and Simulators を開き、+ボタンよりシミュレータを追加してみます。
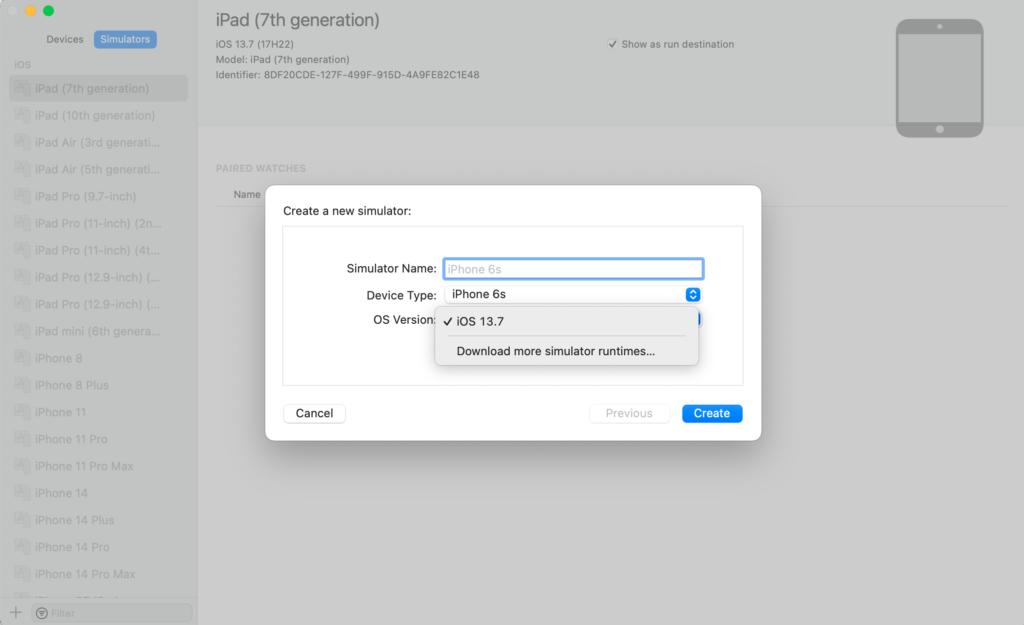
Platforms にて確認すると iOS 13.0 のシミュレータは存在します。

+ボタン > iOS… より確認してみると 追加できるシミュレータはiOS14.0.1以上となっています。
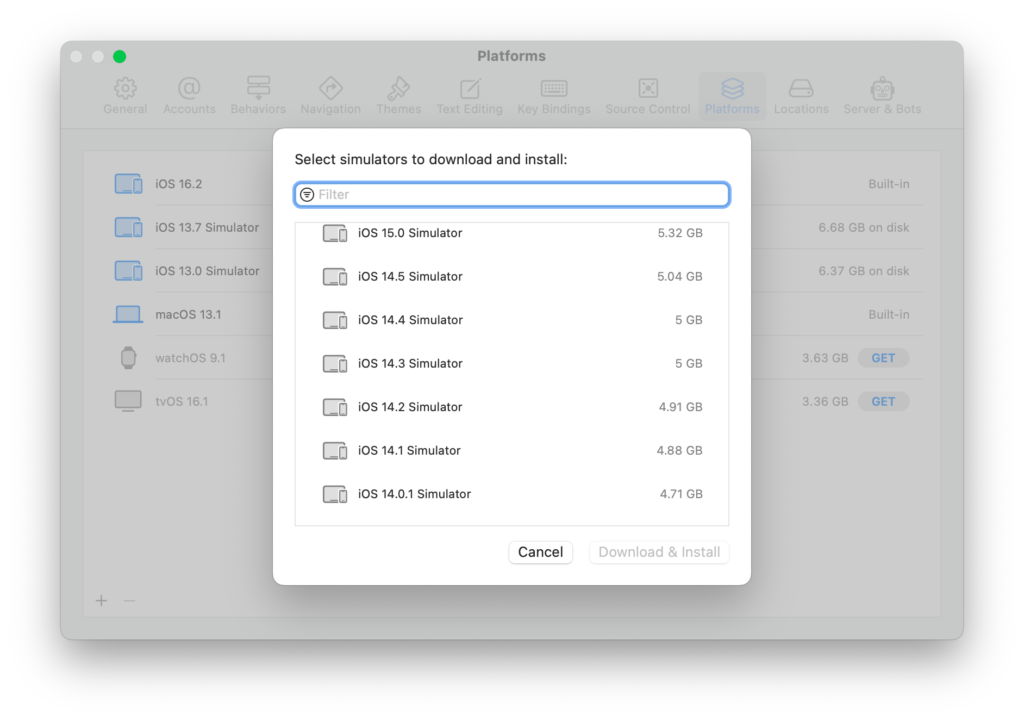
Ventura で動作する Xcode の最低バージョンである Xcode14.0 では iOS13.7 のシミュレータを動かすことができそうです。
https://stackoverflow.com/questions/74275948/how-to-add-ios-13-3-simulator-to-xcode-14-0-1-on-macos-13-ventura
それ以下については現状方法がなさそうなので、もしiOS13.7より下のバージョンで確認したい場合は、実機での確認が必要になりそうです。
実機の場合は、iOS 11.0 以上が対応されています。
$ ls /Applications/Xcode14.2.app/Contents/Developer/Platforms/iPhoneOS.platform/DeviceSupport

11.0 11.2 11.4 12.1 12.3 13.0 13.2 13.4 13.6 14.0 14.2 14.4 15.0 15.4 15.6 16.0
11.1 11.3 12.0 12.2 12.4 13.1 13.3 13.5 13.7 14.1 14.3 14.5 15.2 15.5 15.7 16.1
プロジェクト内のライブラリの更新
続いて Xcode プロジェクトをビルドできるように更新します。
これは私のプロジェクト内で発生したものになります。
Realm の更新
Realm を手動で xcframewok をプロジェクトに追加していたので、ビルドを実行してみると以下のようなエラーが発生しました。
Module compiled with Swift 5.6 cannot be imported by the Swift 5.7.2 compiler: /Users/ユーザ/Library/Developer/Xcode/DerivedData/Hoge-hogehoge/Index.noindex/Build/Products/Debug-iphonesimulator/RealmSwift.framework/Modules/RealmSwift.swiftmodule/x86_64-apple-ios-simulator.swiftmodule
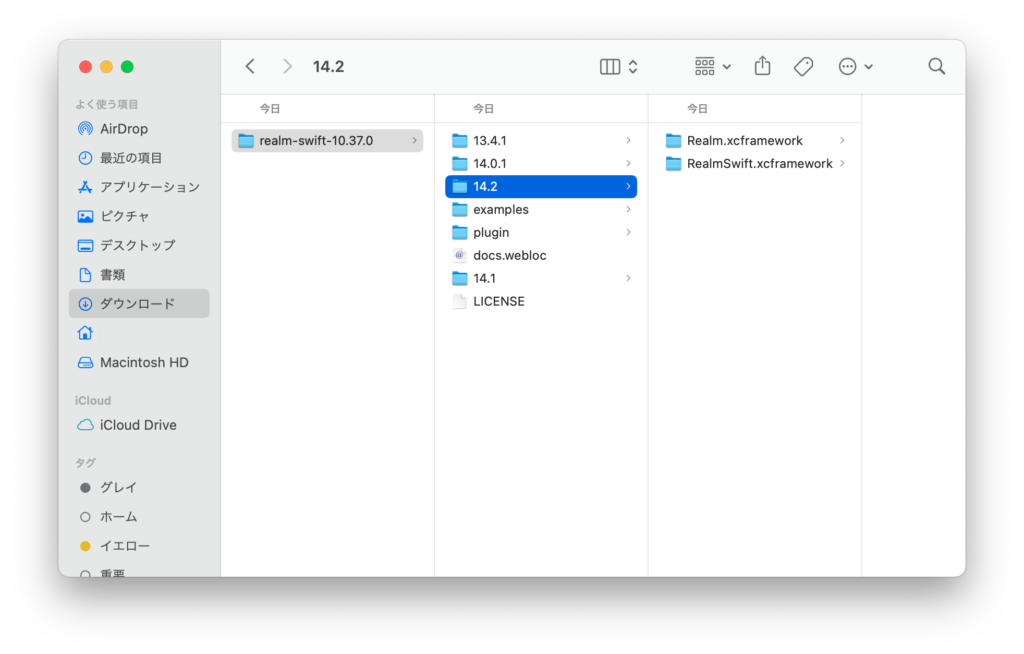
https://github.com/realm/realm-swift/releasesより最新のリリース(v10.37.0)の realm-swift-10.37.0.zipをダウンロードして、Xcode14.2 フォルダ内の xcframework をプロジェクトに配置します。
Run Script の Warning
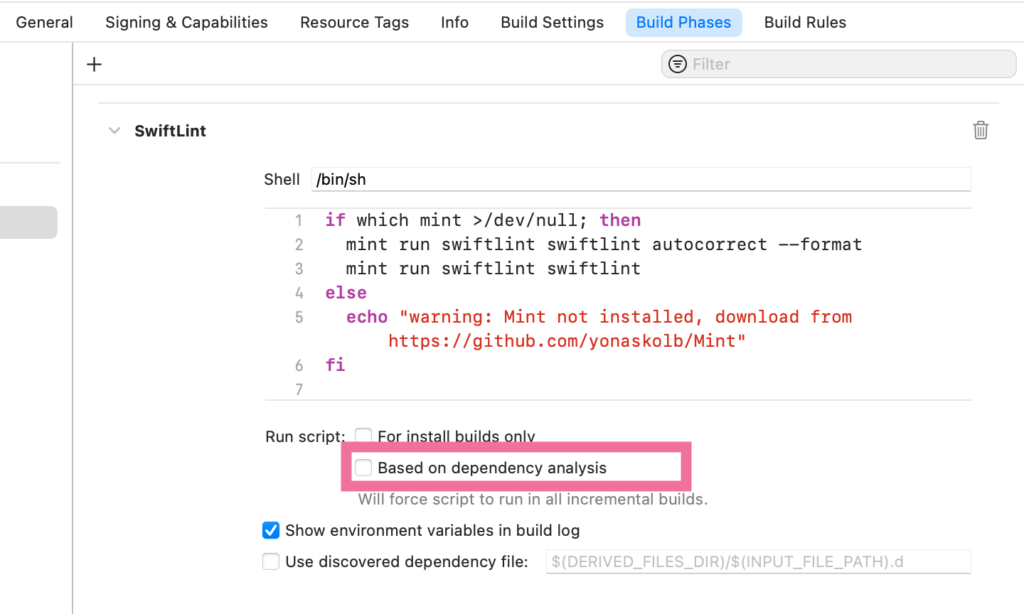
LicensePlist と SwiftLint の RunScript でそれぞれ同様の Warning が発生していました。
Run script build phase ‘LicensePlist’ will be run during every build because it does not specify any outputs. To address this warning, either add output dependencies to the script phase, or configure it to run in every build by unchecking “Based on dependency analysis” in the script phase.
Run script build phase ‘SwiftLint’ will be run during every build because it does not specify any outputs. To address this warning, either add output dependencies to the script phase, or configure it to run in every build by unchecking “Based on dependency analysis” in the script phase.
これらを解決するために Build Phases > 対象のRunScript の Based on dependency analysisのチェックを外します。
pod install の再実行
CocoaPods で入れたライブラリのWarning を解消します。
The iOS Simulator deployment target ‘IPHONEOS_DEPLOYMENT_TARGET’ is set to 10.0, but the range of supported deployment target versions is 11.0 to 16.2.99.
これは、ライブラリ側の設定なので、ライブラリの更新を行うか、以下のように Podfile で設定をしてあげることで解決できます。(参照: Xcode12にアップデートしたらPodライブラリで大量に警告が発生したので対処した件)
// 省略

// 11.0 以上に設定する
post_install do |installer|
  installer.pods_project.targets.each do |target|
    target.build_configurations.each do |config|
      config.build_settings['IPHONEOS_DEPLOYMENT_TARGET'] = '11.0'
    end
  end
end
$ pod update
プロジェクトを再起動してビルドすると、先ほどの Warning が解消されます。
pod updateの実行時似た以下のエラーが出たので、言われた通りコマンドを打ってみました。
Ignoring ffi-1.13.1 because its extensions are not built. Try: gem pristine ffi –version 1.13.1
$ sudo gem pristine ffi --version "1.13.1"

Ignoring ffi-1.13.1 because its extensions are not built. Try: gem pristine ffi --version 1.13.1
Restoring gems to pristine condition...
Building native extensions. This could take a while...
Restored ffi-1.13.1
以降のpod updateではエラーが出なくなりました。
コマンド実行時に CocoaPods のアップデートをしてねと言われたのでアップデートをします。
$ sudo gem install cocoapods

Successfully installed cocoapods-core-1.12.0
ERROR:  While executing gem ... (Gem::FilePermissionError)
    You don't have write permissions for the /usr/bin directory.
権限でこけてしまったので 「You don’t have write permissions for the /usr/bin directory. while installing Cocoapods」を参考にインストール先を変更してインストールしました。
$ sudo gem install cocoapods -n /usr/local/bin
Mint から Swift Package Manager Build Tool Plug-in に移行する
Xcode14 よりビルドツールプラグインが利用できるようになりました。
今回対象となるのは R.swift と SwiftLint と LicensePlist です。
M2チップ搭載 Mac での mint コマンドの実行がうまくいかなかった問題と、古いバージョンの利用をしていたので、これを機にライブラリの更新をしていこうと思います。
R.swift の移行
R.swift installationの手順で、プラグインを導入します。
動画で見るまたはR.Swiftのプラグインの導入方法(Xcode project編)- Qiitaの記事にてわかりやすく紹介されていますので、導入方法は割愛します。
SwiftLint の移行
大変だったので一度割愛
LicensePlist の移行
これも後日
おわりに
その他やったことがあれば随時追記していきます。